
Installing FRP purlins is no harder than steel, but a few things differ. Installers used to steel tend to overtighten, leave cut ends open, lay the box flat or use ordinary steel screws. The steps below follow the order of work on site.
What do I need?
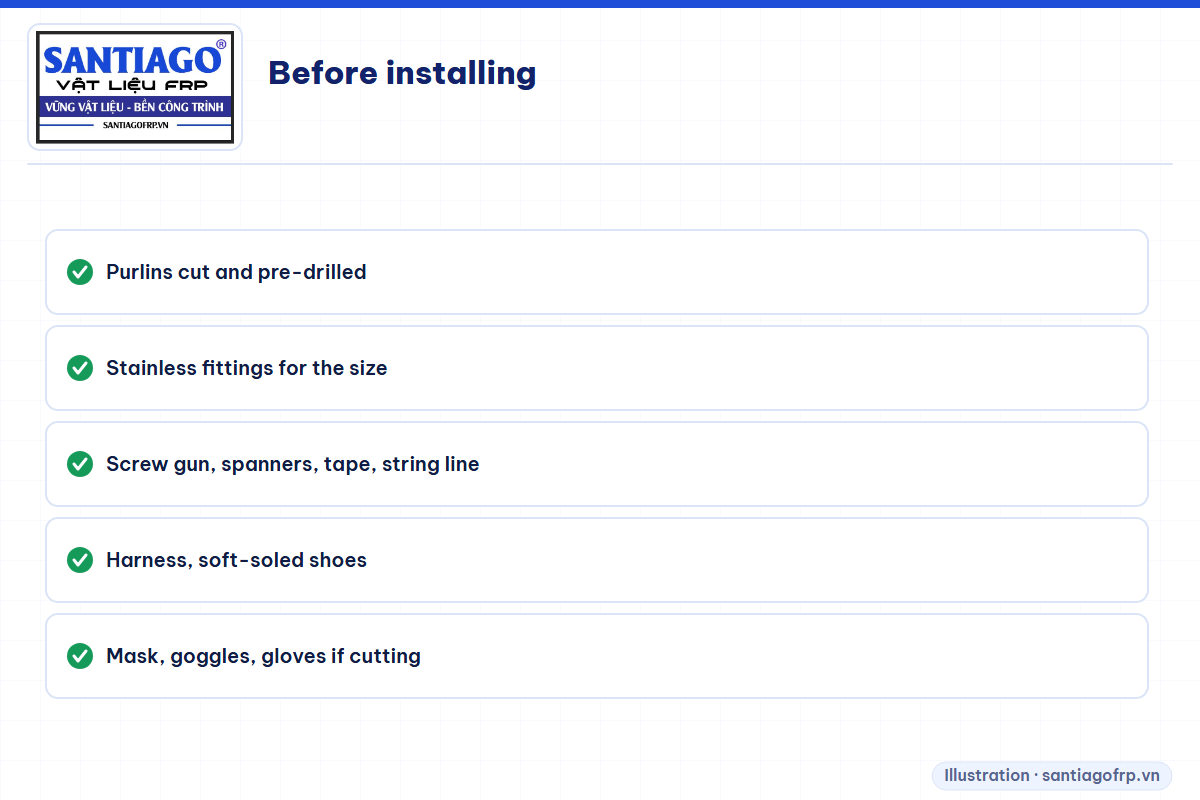
- Purlins cut to length and drilled at the rafters (Santiago FRP supplies them ready).
- The 304 stainless fittings for the purlin size: L-brackets, bolts, nuts, washers, sleeves, self-drilling screws, end caps.
- Screw gun, spanners, tape, string line, marker.
- Safety harness, soft non-slip shoes; gloves, mask and goggles if cutting or drilling.
Check the rafters first
Purlins are only straight if the rafters are. Run a string along the rafter tops to check they are level, and measure the rafter spacing in several places. Old steel rafters that stay should be scraped and repainted where brackets go, with welds and base bolts checked.
Step 1: fix the L-brackets
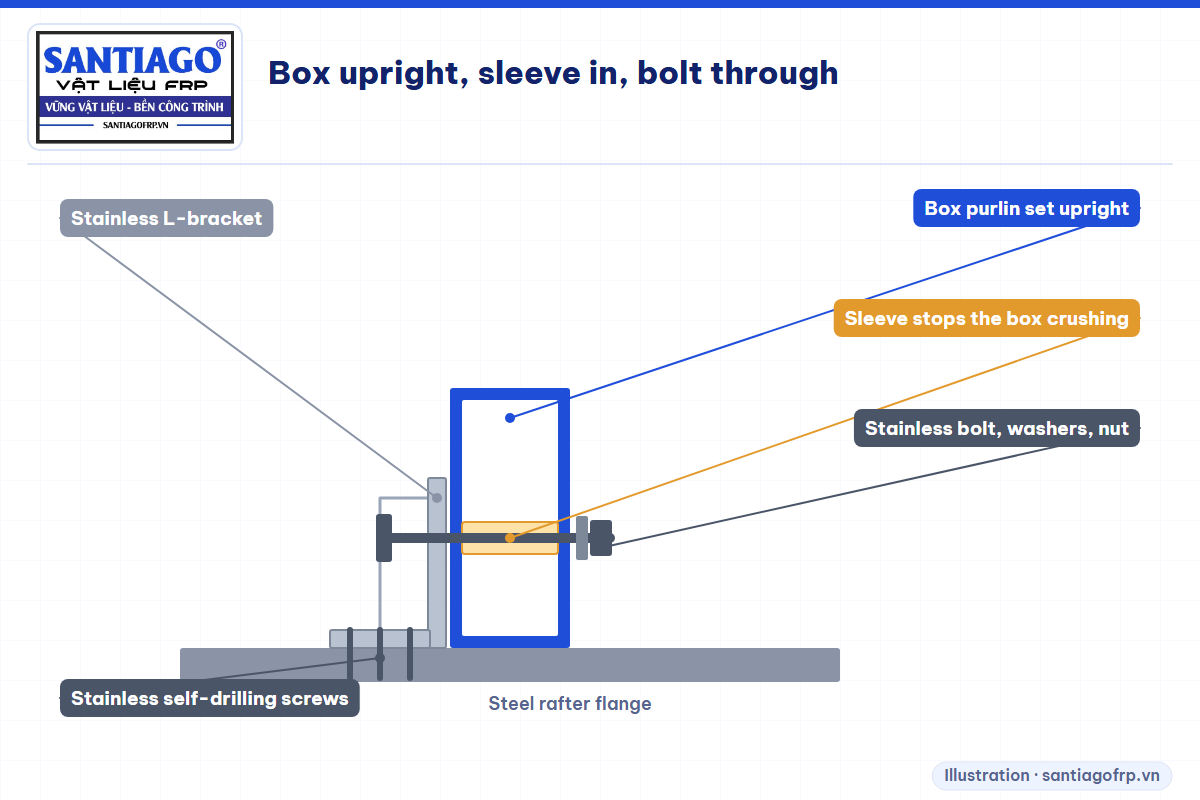
Mark each purlin row on the rafters at the design spacing, for example 660 mm along the slope, and use a string line to keep brackets in a row straight. Fix brackets to steel rafters with stainless self-drilling screws; on concrete or masonry use stainless expansion or chemical anchors.
Step 2: set the purlin and insert the bolts
Set the purlin upright, long side vertical, against the bracket. Slide the sleeve inside the box at the hole, then pass the bolt through bracket, wall, sleeve and the other wall. Without the sleeve, tightening squeezes the two walls together and crushes or cracks the box, because FRP is much weaker across than along.
Step 3: how tight is tight enough?
Tighten until the purlin no longer moves and the washer sits flat on the box. Do not use extension bars or an impact driver on full power. Large washers spread the clamping force.
Step 4: where do purlins join?
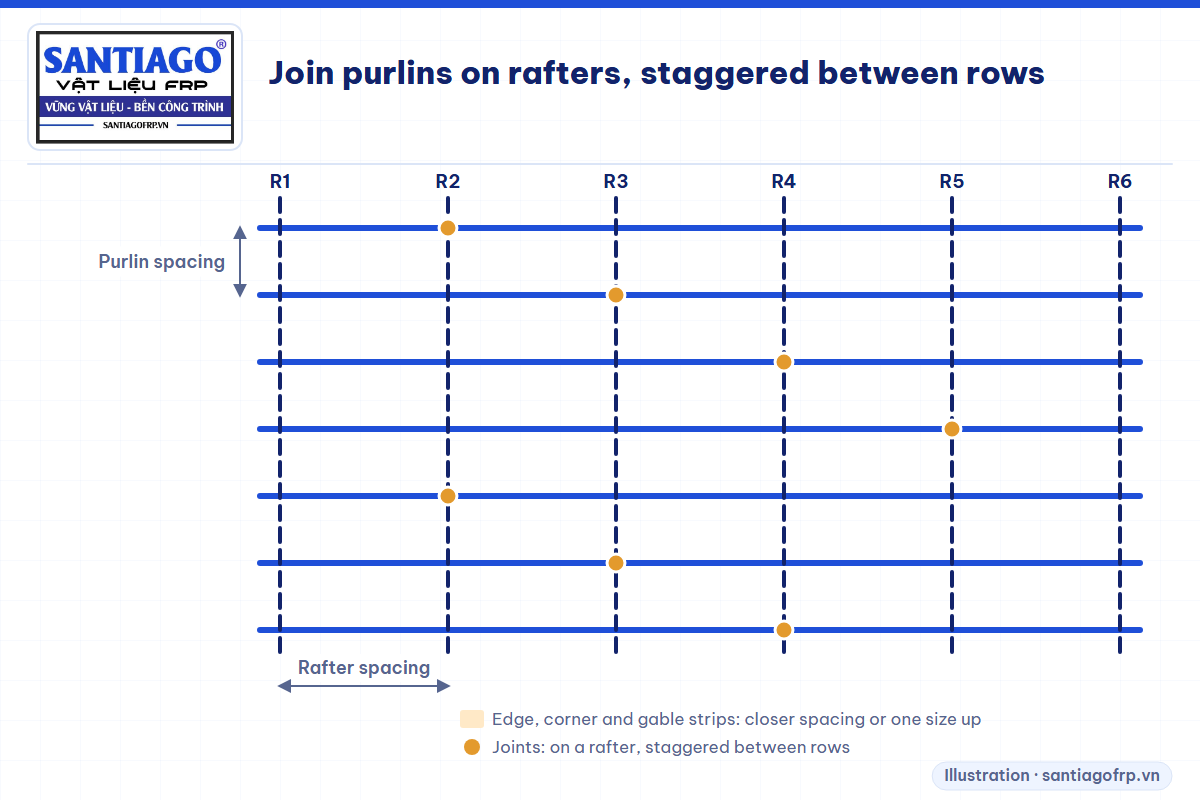
Joints always sit on a rafter, never mid-span. Each end has its own bracket and bolt, with a small gap between the ends. Stagger joints between rows so they are not all on the same rafter.
Step 5: cap the ends and check
Fit end caps so birds, rats and insects cannot get in and water does not collect. Seal any cut made on site with resin or paint to cover exposed fibres. Before sheeting, sight along each row to check it is straight and level.
Step 6: fix the roof sheets
Fix sheets with stainless screws and rubber washers; plated screws rust first and stain the sheets. Do not over-compress the washers, and use more screws along eaves and corners.
Common mistakes
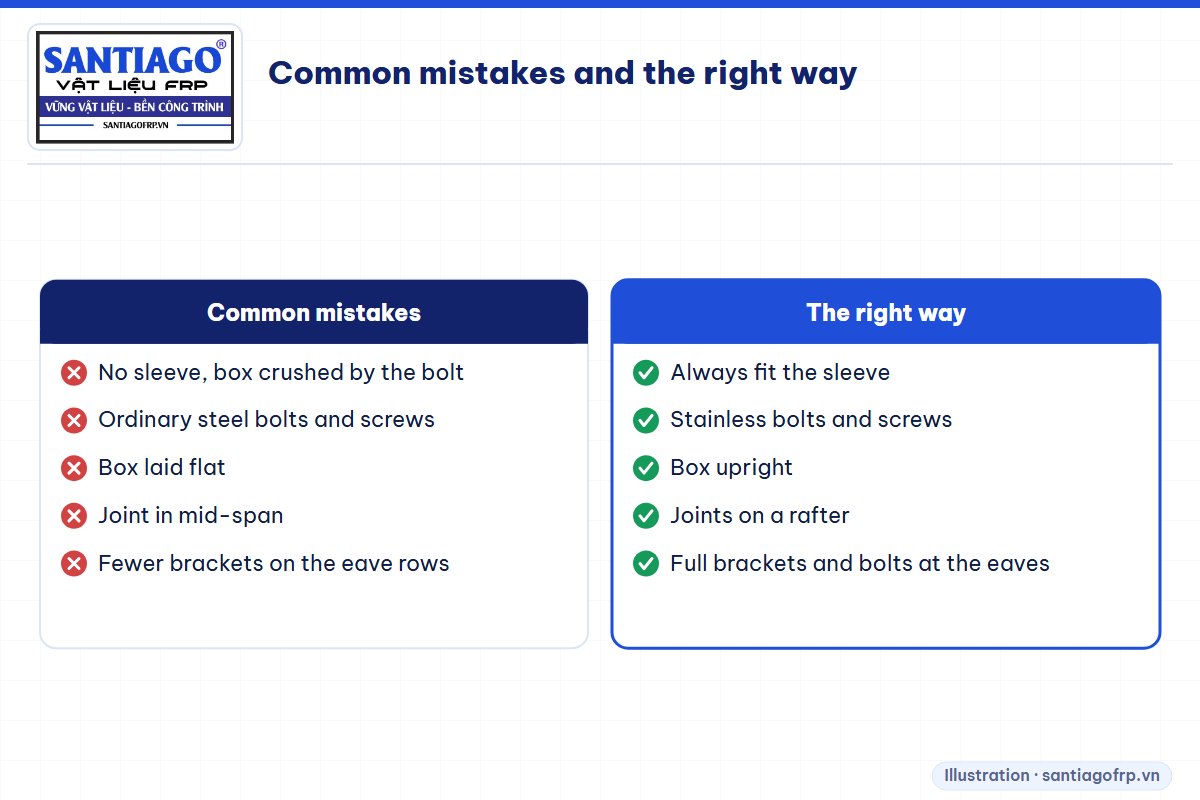
- Leaving out the sleeve and crushing the box.
- Ordinary steel bolts and screws that rust within a few years.
- Laying the purlin flat instead of upright.
- Joining purlins mid-span instead of on a rafter.
- Fewer brackets or bolts on the eave rows, where wind suction is strongest.
- Cutting without mask and gloves; glass fibre dust itches.
Safety on the roof: always wear a harness clipped to something solid, step only on purlins or rafters, never between supports on plastic sheets, and do not work in rain or strong wind. Product background: what an FRP purlin is.
Frequently asked questions
Does installing FRP purlins need specialist installers?
No. Steel roof installers can do it if they remember a few points: box upright, sleeve always fitted, tighten just enough, stainless bolts and screws, and end caps.
What is the sleeve inside an FRP purlin for?
The sleeve sits inside the box where the bolt passes and supports the two walls, so tightening the bolt does not crush or crack the box.
Can FRP purlins be welded?
No. FRP is a plastic and cannot be welded; it is joined with brackets and stainless bolts.